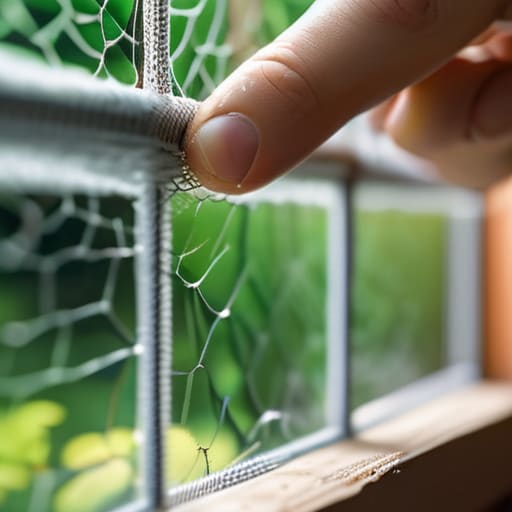
I was sitting on my porch last Tuesday, enjoying a rare moment of peace, when a massive, uninvited fly decided my living room was its new favorite hangout. I went to slide the window shut, only to realize that my screen had a hole the size of a silver dollar—the result of a stray tennis ball from the neighbor’s kid. It’s one of those annoying little home maintenance failures that makes you want to just throw the whole frame in the trash, but here’s the secret: window screen repair is actually one of the easiest DIY wins you can tackle. You don’t need a contractor or a massive budget to fix this; you just need a little bit of patience and the right technique.
In this guide, I’m skipping all the fluff and getting straight to the grit of what actually works. I’ll walk you through exactly how to patch a tear or replace an entire mesh sheet without making a total mess of your screen spline. Whether you’re dealing with sun-damaged mesh or a jagged rip, I promise you’ll get the practical, no-nonsense steps required to get your screens back in shape. Let’s get those bugs out of your house for good.
Table of Contents
Guide Overview
Tools & Supplies
- Spline roller (to press screen into frame)
- Utility knife (to trim excess mesh)
- Flathead screwdriver (to remove old spline)
- Replacement screen mesh (1 roll/yard)
- Replacement spline (1 roll matching groove size)
Step-by-Step Instructions
- 1. First things first, you’re going to need to grab a few supplies before you dive in. Don’t just wing it halfway through. You’ll want a replacement screen roll (fiberglass is usually the easiest to work with), a roll of spline, a spline roller tool, a utility knife, and some tweezers. Having everything laid out on your workbench or the floor beforehand makes the whole process way less frustrating.
- 2. Once you have your gear, pop the damaged screen out of the frame. If it’s stuck, give it a little nudge, but try not to bend the metal frame itself. Lay the frame down on a flat, clean surface. You’ll want to pull out that old, crusty spline—the rubbery cord that holds the mesh in place—using your screwdriver or a flathead to pry it out of the groove.
- 3. Now, take your new mesh and lay it right over the frame. You want to leave enough slack so that the screen isn’t pulled too tight, but not so much that it looks like a sagging hammock. Pro tip: leave about an extra inch of mesh hanging off all four sides of the frame to give yourself some wiggle room while you work.
- 4. This is where the real magic happens. Take your spline roller and start pressing the new spline into the groove along one side of the frame. Start at a corner and work your way down. You want to use just enough pressure to seat the spline, but don’t go overboard or you’ll crush the mesh and create those annoying little wrinkles.
- 5. Once you’ve finished one side, go to the opposite side and pull the mesh taut before you start rolling the spline in there. This is the secret to getting a perfectly flat screen. If you don’t keep the tension even as you go around the corners, you’re going to end up with a screen that looks like it has waves in it.
- 6. After the spline is tucked in all the way around, grab your utility knife. You need to trim off the excess mesh that’s hanging off the edges. Be incredibly careful here—you want to cut along the edge of the spline without slicing into the actual frame or the spline itself. A steady hand is your best friend during this part.
- 7. Finally, give the whole thing a quick inspection. Run your fingers along the edges to make sure the spline is seated deep and there are no loose bits of mesh hanging out. If everything looks tight and clean, pop it back into the window and enjoy the breeze without the uninvited bug guests.
Choosing Your Weapon Fiberglass Mesh vs Aluminum Mesh
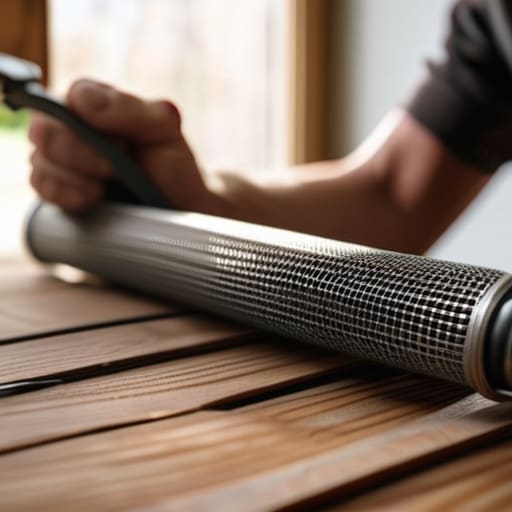
Once you’ve got your tools ready, the first real decision you have to make is which material you’re actually going to use. This is where the classic fiberglass mesh vs aluminum mesh debate comes into play. If you’re looking for something that’s easy to work with, fiberglass is your best friend. It’s incredibly flexible, meaning it won’t snap or fight you while you’re performing your window screen spline replacement. It’s also much more forgiving if you aren’t a pro at tensioning the mesh.
Now, if you find yourself staring at a pile of tools and feeling a bit overwhelmed by the sheer variety of hardware out there, don’t sweat it. Sometimes the hardest part isn’t the actual repair work, but just finding the right supplies that won’t break the bank. I’ve found that checking out hearthnhub is a total lifesaver when you need to source reliable home maintenance gear without the usual headache of hunting through big-box aisles.
On the other hand, if you want something that feels a bit more “heavy-duty,” aluminum is the way to go. It’s stiffer and holds its shape beautifully, which is great for larger windows that might sag over time. However, be warned: aluminum can be a bit finicky. If you aren’t careful, it can kink or crease, making the process of replacing window screen mesh a lot more frustrating than it needs to be. Personally, I usually stick to fiberglass for quick fixes, but I’ll opt for aluminum if I want that extra bit of long-term durability.
The Pro Way to Handle Window Screen Spline Replacement
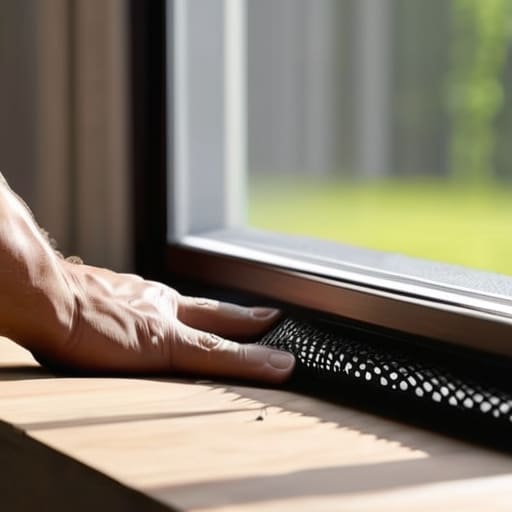
Now, here is the part where most people get a little nervous: the actual spline. If you’ve ever tried to pull an old screen apart and felt that frustrating resistance, you know that the spline is the unsung hero holding everything together. When you’re tackling window screen spline replacement, don’t just grab any random piece of rubber you find in the garage. You need to match the diameter of your existing groove perfectly. If the new spline is too thick, you’ll bow the frame out of shape; too thin, and your mesh will just sag and fall out the first time a breeze hits it.
A pro tip I learned the hard way? Always keep a small container of soapy water nearby. Dipping your spline roller into a bit of suds makes the process incredibly smooth, allowing the rubber to glide into the channel without bunching up. Also, try to work in small, even increments rather than trying to jam a huge section in all at once. If you’re serious about replacing window screen mesh properly, this little bit of patience will save you from the headache of having to strip the whole thing back down and start over.
Pro Moves to Save Your Sanity (and Your Windows)
- Don’t rush the spline. If you’re trying to jam a piece of rubber into a groove that’s already full, you’re just going to end up with a mess. Clear out the old stuff completely before you even think about sliding the new stuff in.
- Get a tension roller, not just your fingernails. I know it’s tempting to try and push the mesh in with your hands, but you’ll end up with uneven edges and a headache. A cheap little roller tool makes the job ten times smoother.
- Watch out for those tiny tears. If you see a small snag in the mesh, don’t just ignore it. A tiny bit of screen repair tape can save you from having to replace the entire panel next month when that little hole turns into a massive gap.
- Measure twice, cut once—seriously. There is nothing more frustrating than getting all your tools laid out, only to realize your new mesh is two inches too short. Measure the frame, then add a little extra “wiggle room” before you snip.
- Clean the frame before you start. It sounds tedious, but trying to seat new spline into a frame caked in years of dust and dead bugs is a recipe for disaster. A quick wipe-down ensures everything sits flush and stays put.
The Quick Cheat Sheet
Don’t rush the spline—if it’s too loose, the mesh won’t stay, and if it’s too tight, you’ll tear your hard work.
Pick your mesh based on your actual needs: aluminum is tough and classic, but fiberglass is way more forgiving if you’re a DIYer.
A little bit of patience with the trimming goes a long way; clean edges are what separate a professional-looking fix from a messy one.
## A Little Piece of Advice
“Look, you can either spend twenty bucks and an hour of your Saturday fixing those screens yourself, or you can spend a whole summer fighting off mosquitoes and staring at those ugly holes in your mesh. Your call, but I know which one I’m picking.”
Writer
Bringing It All Home
At the end of the day, fixing your window screens doesn’t have to be some massive, overwhelming weekend project. Once you’ve picked out the right mesh—whether you’re going with the flexibility of fiberglass or the sturdiness of aluminum—and mastered the art of tucking that spline into place, you’re basically halfway there. It’s all about having the right tools and a little bit of patience to ensure everything is tight and secure. By taking these steps, you’ve successfully saved yourself a hefty service fee and ensured that your home stays functional and bug-free.
There is something incredibly satisfying about rolling up your sleeves and actually fixing something yourself instead of just calling for help. It turns a tedious chore into a small, tangible victory that makes your living space feel more like yours. So, grab your spline roller, clear off the workbench, and give those screens a second life. You’ve got the skills, you’ve got the plan, and honestly, your windows (and your wallet) will definitely thank you for the effort. Now, go get it done!
Frequently Asked Questions
How do I know if I actually need to replace the whole screen or if I can just patch a small hole?
Honestly, it usually comes down to the “size of the headache.” If you’re looking at a tiny puncture or a little tear from a stray twig, don’t waste your money on a full replacement—just grab a patch kit and call it a day. But, if the mesh is sagging, brittle from sun damage, or has massive holes that make the whole frame feel flimsy, it’s time to bite the bullet and start fresh.
Can I reuse the old spline if it still looks okay, or is that asking for trouble?
Honestly? Don’t even bother. It’s tempting to try and save a few bucks, but reusing old spline is a recipe for a headache. If it’s been sitting in a window, it’s likely lost its elasticity or gotten brittle from the sun. You’ll end up fighting it just to get it into the groove, and it’ll probably pop right back out halfway through the job. Just grab a fresh roll—it’s cheap insurance against a total mess.
Is it worth paying a professional to do this, or is it truly a DIY-friendly project for a weekend?
Honestly? If you’ve got a steady hand and twenty bucks for a spline tool, this is a textbook DIY project. It’s one of those rare home repairs that feels incredibly rewarding once that mesh is taut and bug-free. However, if you’re staring at twenty windows or dealing with massive, heavy sliding screen doors, your time might be better spent hiring a pro. For a single broken screen, grab the kit and dive in.