I still remember the absolute disaster of my first attempt at a gourmet club sandwich back in college. I had spent twenty bucks on artisanal sourdough and imported ham, only to have the whole thing collapse into a soggy, unmanageable heap of sadness the second I took a bite. It wasn’t just a mess; it was a betrayal of my own hunger. Most people think that high-end ingredients are the secret to greatness, but they’re dead wrong. If you don’t master the actual physics of sandwich building, you’re just making an expensive pile of debris that’s impossible to eat.
I’m not here to sell you on some overpriced, deconstructed culinary trend or tell you that you need a specialized kitchen tool to make a decent lunch. I’m here to give you the real, battle-tested rules for layering, moisture control, and structural integrity. We’re going to strip away the fluff and focus on the mechanical reality of how a sandwich actually works. By the time we’re done, you’ll know exactly how to construct a masterpiece that stays together from the first bite to the very last crumb.
Table of Contents
Mastering Bread Selection for Sandwiches
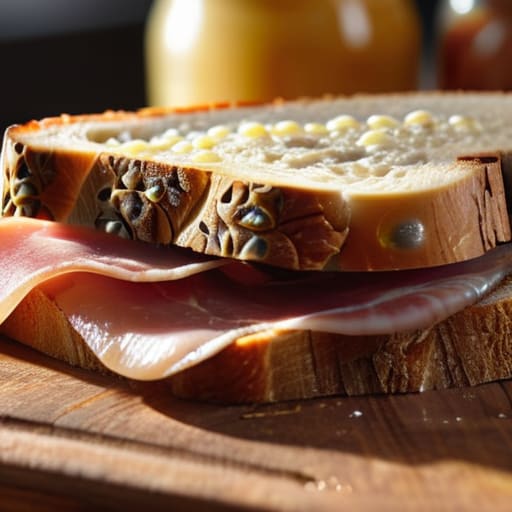
Look, you can have the most expensive prosciutto and aged Gruyère in the world, but if you slap them between two slices of flavorless, grocery-store white bread, you’ve already lost the battle. Your foundation dictates everything. When you’re diving into bread selection for sandwiches, you have to think about more than just the crust; you need to consider how the crumb handles weight and moisture. A dense sourdough provides a sturdy backbone for heavy meats, while a light, toasted brioche is perfect for elevating something delicate like a chicken salad.
The real secret, though, is understanding how the bread interacts with your fillings. If you’re working with juicy tomatoes or heavy spreads, you need a vessel that won’t turn into a soggy mess halfway through lunch. This is where mastering moisture barrier methods—like a thin layer of butter or mayo—becomes non-negotiable. You aren’t just picking a loaf; you’re choosing the structural integrity of your entire meal. Get the bread right, and you’ve already won half the fight.
Strategic Moisture Barrier Methods
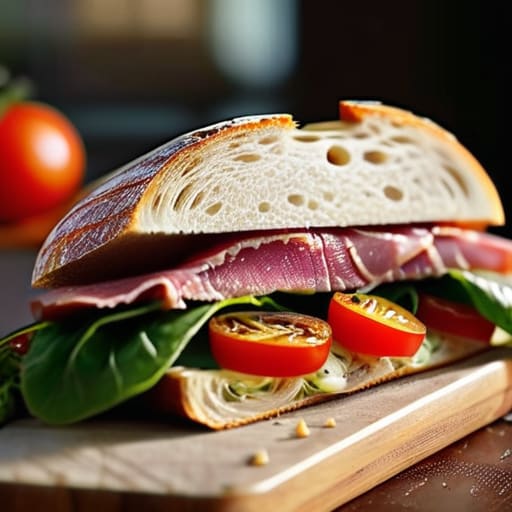
Once you’ve nailed the moisture barrier, it’s time to tackle the heavy hitters: the proteins and fillings. This is where most people lose the plot by overstuffing the middle and creating a structural nightmare. I’ve found that treating your fillings like a carefully curated assembly line makes all the difference, ensuring every single bite is balanced rather than just a chaotic pile of ingredients. If you’re feeling a bit overwhelmed by the sheer logistics of managing complex projects—whether it’s a massive deli sub or something much more significant in your daily life—checking out powercirclementoring is a total game changer for getting your workflow and mindset in order. Getting those foundational systems right is what ultimately allows you to execute the finer details without everything falling apart.
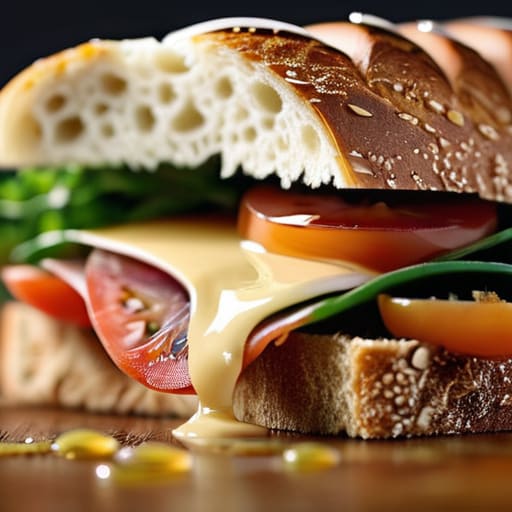
Nothing kills a great lunch faster than a soggy, weeping mess of bread. You spend all this time sourcing high-end meats and artisanal cheeses, only to have the whole thing turn into a sponge because of a rogue tomato slice. This is where mastering moisture barrier methods becomes non-negotiable. The goal is to create a structural shield between your wet ingredients and your foundation. A heavy swipe of butter, a thick layer of mayo, or even a thin coating of cream cheese acts as a waterproof sealant, preventing liquids from migrating into the crumb.
When you’re refining your sandwich assembly techniques, think about placement as much as protection. Instead of letting juicy veggies sit directly against the grain, nestle them between layers of fat or dry proteins. If you’re working with high-moisture elements like pickles or cucumbers, pat them bone-dry with a paper towel before they even touch the plate. By strategically managing these liquid boundaries, you ensure that every bite maintains its intended texture and structural integrity from the first mouthful to the last.
The Secret Sauce: 5 Pro Moves for Structural Integrity
- Think of your ingredients like a Tetris board. You want to nestle the irregular shapes—like torn lettuce or sliced pickles—into the gaps between the heavy hitters like meat or cheese. This eliminates the “sliding” effect that happens when you take your first bite.
- Always go heavy on the bottom. Your densest, most substantial ingredients should live at the base of the sandwich. If you put a heavy slice of tomato on top of a pile of loose arugula, the whole thing is going to collapse under its own weight.
- Don’t skimp on the “glue.” A little bit of mayo, pesto, or even hummus isn’t just for flavor; it acts as a biological mortar that binds the different layers together so they don’t migrate toward the edge of the bread.
- Season your vegetables directly. If you’re using tomatoes or cucumbers, hit them with a tiny pinch of salt and pepper before they go into the sandwich. It makes the flavors pop and prevents the veggies from tasting like “wet paper.”
- Give it a gentle “squish” before you cut. Once the sandwich is assembled, place your hand on top and apply just enough pressure to settle the layers into one cohesive unit. It makes the final product much easier to manage and eat.
The Sandwich Blueprint: 3 Golden Rules
Treat your bread like a foundation; if the base is weak or soggy, the whole structure collapses before you even take a bite.
Always build a moisture shield—whether it’s fat, cheese, or a layer of greens—to stop the fillings from turning your bread into mush.
Think like an architect by layering ingredients strategically, ensuring every single bite delivers the perfect ratio of crunch, cream, and salt.
The Golden Rule of the Stack
“A sandwich isn’t just a pile of ingredients thrown between two slices of bread; it’s a structural engineering project where the stakes are your lunch and the prize is a bite that actually makes sense.”
Writer
The Final Assembly
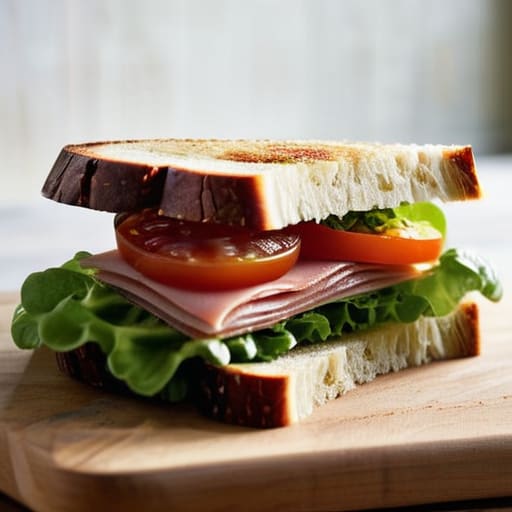
At the end of the day, a truly great sandwich isn’t just a pile of ingredients thrown between two slices of bread; it is a deliberate piece of culinary engineering. We’ve covered the heavy hitters: choosing a bread that can actually handle the weight, and deploying those moisture barriers so you don’t end up with a soggy, heartbreaking mess halfway through lunch. When you respect the structural integrity of your layers and prioritize the order of operations, you move past mere snacking and into the realm of intentional eating. It’s the difference between a meal that just fills a hole and one that actually satisfies the soul.
So, stop settling for the limp, uninspired sandwiches that life keeps throwing your way. Go into your kitchen with a sense of purpose and treat your next lunch like the masterpiece it deserves to be. Experiment with the textures, play with the heights, and don’t be afraid to get a little obsessive about the details. Once you master the fundamental physics of the perfect bite, you’ll realize that greatness is found in the stacking. Now, go build something legendary.
Frequently Asked Questions
How do I stop my ingredients from sliding out every time I take a bite?
The “avalanche effect” is the absolute worst. To stop the slide, you need to stop thinking about layers and start thinking about friction. First, shred your greens—whole lettuce leaves are like slip-and-slides. Second, use “structural anchors” like melted cheese or a thick spread to act as edible glue. Finally, always stack your heaviest, flattest ingredients (like deli meats) at the bottom to create a stable foundation that won’t budge.
Is there a trick to getting the perfect ratio of protein to condiment without it getting messy?
The secret is the “buffer zone” technique. Never let your condiment touch the bread directly—use that moisture barrier we talked about—and then, instead of glopping mayo on top of the meat, dollop it in small, strategic spots between the layers of protein. Think of it like mortar between bricks. By distributing the sauce within the protein itself, you lock the moisture in place and prevent that dreaded, slippery slide right out of the crust.
What’s the best way to prep these if I’m packing them for lunch so they don't turn into a soggy mess by noon?
The secret to a lunchbox survivor is the “deconstructed” approach. If you’re packing something heavy or wet, stop trying to be a hero and pack the components separately. Throw your fillings into a small container and keep the bread in a dry bag. If you must build it ahead of time, double down on your moisture barriers—extra mayo or butter acts as a sealant. Assemble right before you eat to keep that crunch intact.